Fantasy Book Manipulation Effects Photoshop Tutorial
Figuration: Tutorial
Description
sharing how to make a fantasy magic book photo manipulation effect in photoshop cc, I hope you enjoying this photoshop tutorial.
thanks for watching & liking :).
Stock Images ►
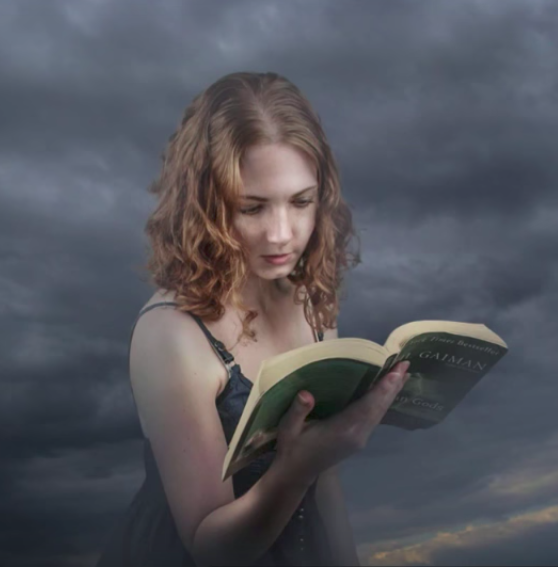
Model : http://iquitcountingstock.deviantart.com/art/Woman-Reading-I-213347330
Sky Background : http://archetype-stock.deviantart.com/art/Storm-Clouds-Pack-3-84737493
Star Brush: http://demosthenesvoice.deviantart.com/art/Star-Brushes-97311837
Butterfly: http://wolverine041269.deviantart.com/art/Butterfly-21-371766268
Stay Connected:
Facebook ► https://www.facebook.com/rafyA88
Google+ ► http://bit.ly/rafyA_
Intagram ► https://www.instagram.com/rafya88
Watch More Tutorials ► http://www.rafy-a.com
Thanks for watching.
_
Music by :
"Relaxing Piano Music" Kevin MacLeod (incompetech.com)
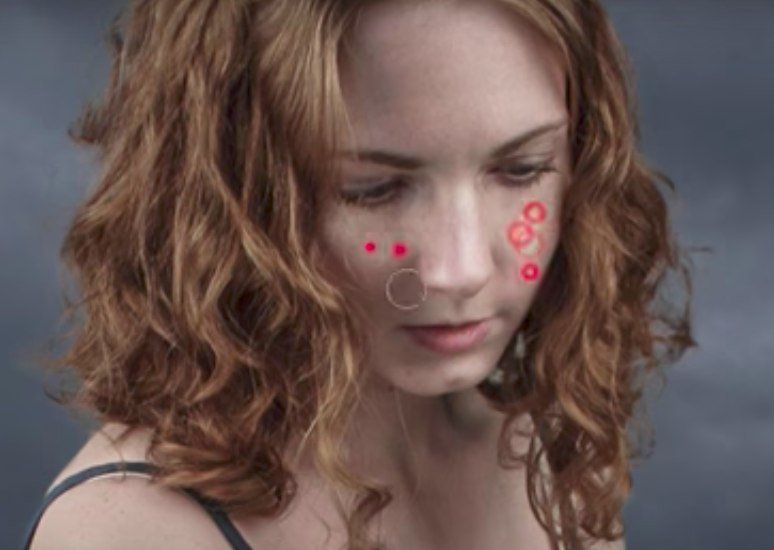
Licensed under Creative Commons: By Attribution 3.0 License
http://creativecommons.org/licenses/by/3.0/
Metadata
| Video ID | 204 | Youtube URL | Fantasy Book Manipulation Effects Photoshop Tutorial |
|---|---|
| Captions Available | Yes |
| Captions Downloadable | Yes |
| Playlists | |
| Duration | 00:15:32 |
| Definition | hd |
| Keywords | |
| License | youtube |
| Embeddable | Yes |
| Views | 126633 |
| Likes | 1976 |
| Dislikes | 18 |
| Favourites | 0 |
| Comments | 158 |
| Created | 2017-05-04 1:00:43 PM |
| Updated | 2017-05-04 1:12:19 PM |
Captions
standard: en
1
00:00:16,033 --> 00:00:19,433
Download all stocks from link in the description
2
00:00:21,600 --> 00:00:24,400
first, duplicate the background layer
3
00:00:24,400 --> 00:00:28,400
using Camera raw filter to adjust the background image
4
00:01:36,633 --> 00:01:40,633
next, cut out the Model from the background, i use the Quick Selection tool (W)
5
00:01:54,933 --> 00:01:58,299
add a Mask to the layer
6
00:01:58,300 --> 00:02:02,300
right click on the Mask & Refine Mask
7
00:02:02,300 --> 00:02:06,300
adjust the Edge setting, we will refine the edge pieces on the model
8
00:02:32,000 --> 00:02:36,000
use the Move tool (V) to move the Model onto our main Background
9
00:02:38,200 --> 00:02:42,200
Ctrl+T to resize it
10
00:03:20,533 --> 00:03:23,999
Ctrl+D to deselect
11
00:03:26,700 --> 00:03:29,333
Create a new adjustment layer - Hue/Saturation.
12
00:03:29,333 --> 00:03:33,333
Clip it to the Layer below & do like so..
13
00:03:38,666 --> 00:03:42,666
Create a new adjustment layer - Curves.
14
00:03:43,566 --> 00:03:47,566
Clip it & bring down the brightness
15
00:03:54,233 --> 00:03:58,233
Ctrl+i to invert
16
00:03:58,233 --> 00:04:02,233
use the Brush tool (B) with White & paint it on the mask
17
00:04:30,466 --> 00:04:34,466
create a new Layer, & Fill (shift+f5) it with 50% grey
18
00:04:40,066 --> 00:04:42,399
use Overlay blend mode
19
00:04:42,400 --> 00:04:48,800
use the Burn tool (O) for the shadows & Dodge tool for the Highlights
20
00:05:49,266 --> 00:05:53,266
create a new Layer
21
00:05:53,266 --> 00:05:57,266
use the Brush tool (B) & pick the background color
22
00:06:05,100 --> 00:06:09,100
to do this, you can press ALT & click on the background
23
00:07:09,100 --> 00:07:13,100
create a new Layer.
24
00:07:13,666 --> 00:07:17,666
use the selection tool & do like so..
25
00:07:44,133 --> 00:07:50,033
select the Radial Gradient tool (G)
26
00:08:03,066 --> 00:08:07,066
Ctrl+Z to undo
27
00:08:14,700 --> 00:08:17,900
Softlight blend mode
28
00:08:17,900 --> 00:08:21,900
duplicate the Layer & blend it to Screen mode
29
00:08:29,533 --> 00:08:33,533
create a new Layer again..
30
00:08:40,733 --> 00:08:44,733
press CTRL+D to deselect
31
00:09:18,433 --> 00:09:22,433
CTRL+T to select & resize it.
32
00:09:53,466 --> 00:09:56,632
create a new layer & Clip to the layer below
33
00:09:56,633 --> 00:10:00,633
use the Brush tool (B) with Orange color & paint it on the butterfly
34
00:10:16,000 --> 00:10:20,000
use Overlay blend mode
35
00:10:25,100 --> 00:10:29,100
create a new layer.
36
00:10:29,200 --> 00:10:33,200
you can download the Brush set from link in the description
37
00:11:01,766 --> 00:11:05,766
next, select the Model & create a ne Layer.
38
00:11:10,200 --> 00:11:14,200
use the Brush tool (B) with orange color & paint it on the model
39
00:11:51,166 --> 00:11:55,166
blend it to Overlay
40
00:13:32,933 --> 00:13:36,933
Ctrl+Shift+Alt+E to merge visible
41
00:13:41,966 --> 00:13:45,966
use Camera raw filter to adjust the image
Profiles
Profile 1
| Purpose | Tutorial (why) |
|---|---|
| Content | |
| Participants | nameless (f) model, Photoshop geek |
| Form | Tutorial (how) |
| Time | |
| Place |
Profile 2
| Purpose | Tutorial |
|---|---|
| Content | Portrait (m) |
| Participants | nameless (f) model |
| Form | Tutorial (how), music |
| Time | Real time |
| Place | Desktop |