Winter Snow Photo Effects Photoshop Tutorial
Figuration: Tutorial
Description
In this time I'm going to show you how to make winter color & snow effects in photoshop cc easily. I hope you enjoy this video. thanks for watching & liking :)
Stock Credits
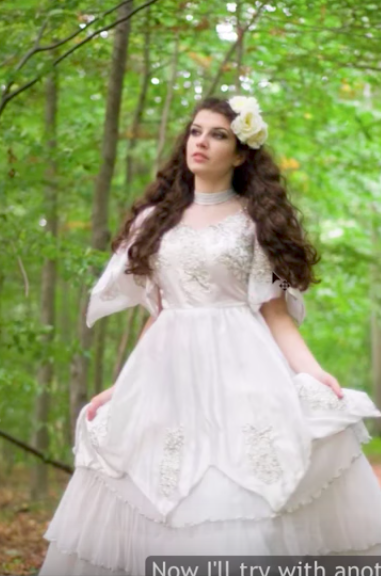
Model 1: Maria Amanda (Photographer: Helle Gry)
http://mariaamanda.deviantart.com/art/No-title-Stock-521453565
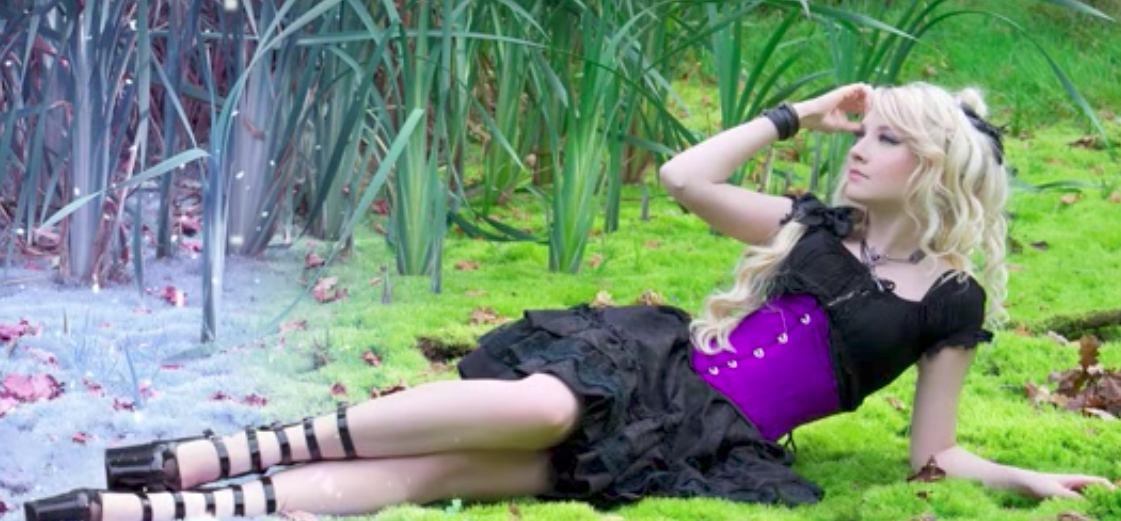
Model 2 : http://kawaielli-stock.deviantart.com/art/7-212003245
Stay Connected:
Facebook ► https://www.facebook.com/rafyA88
Google+ ► http://bit.ly/rafyA_
Intagram ► https://www.instagram.com/rafya88
Watch More Tutorials ► http://www.rafy-a.com
Thanks for watching.
_
Music :
Green Leaves
By: http://audionautix.com
Metadata
| Video ID | 340 | Youtube URL | Winter Snow Photo Effects Photoshop Tutorial |
|---|---|
| Captions Available | Yes |
| Captions Downloadable | Yes |
| Playlists | |
| Duration | 00:05:37 |
| Definition | hd |
| Keywords | |
| License | youtube |
| Embeddable | Yes |
| Views | 31722 |
| Likes | 780 |
| Dislikes | 11 |
| Favourites | 0 |
| Comments | 61 |
| Created | 2017-05-04 1:00:45 PM |
| Updated | 2017-05-04 1:14:19 PM |
Captions
standard: en
1
00:00:18,933 --> 00:00:22,299
Hi Everyone.. welcome back & let's get started!!
2
00:00:22,300 --> 00:00:26,300
Create a new adjustment layer - Channel Mixer.
3
00:00:28,133 --> 00:00:32,133
Select Blue output channel
4
00:00:34,566 --> 00:00:39,932
set Green to +200 & Blue about -100 or more
5
00:00:49,233 --> 00:00:53,233
use Lighten Blending Mode
6
00:01:00,166 --> 00:01:04,166
Create a new adjustment layer - Hue/Saturation.
7
00:01:04,166 --> 00:01:13,899
bring up The Lightness on the Blue, or you can refer these settings.
8
00:01:23,800 --> 00:01:27,800
use the Brush tool with Black & paint it on the parts you don't want
9
00:01:47,333 --> 00:01:51,333
Create a new adjustment layer - Color Balance.
10
00:01:57,033 --> 00:02:01,033
I just want the image looks more Blue.
11
00:02:25,066 --> 00:02:27,732
Create a new layer.
12
00:02:27,733 --> 00:02:33,633
select Rectangular Marquee Tool & fill it with Black..
13
00:02:42,466 --> 00:02:46,466
go to Add Noise filter.
14
00:02:48,500 --> 00:02:52,500
make sure Gaussian & Monochromatic are checked.
15
00:03:04,400 --> 00:03:08,400
go to Gaussian Blur filter to get blurry.
16
00:03:15,466 --> 00:03:19,466
go to Threshold & do like so..
17
00:03:28,066 --> 00:03:33,066
Ctrl+D to Deselect & Ctrl+T to resize it.
18
00:03:39,533 --> 00:03:43,533
use Screen blend mode.
19
00:03:43,933 --> 00:03:47,933
Ctrl+J to duplicate Layer.
20
00:04:25,300 --> 00:04:28,933
and the result will look like this :)
21
00:04:29,500 --> 00:04:33,500
Now I'll try with another photo
Profiles
Profile 1
| Purpose | Tutorial (why) |
|---|---|
| Content | |
| Participants | nameless (f) model, Photoshop geek |
| Form | Tutorial (how) |
| Time | |
| Place |
Profile 2
| Purpose | Tutorial |
|---|---|
| Content | Portrait |
| Participants | nameless (f) model, Photoshop geek |
| Form | Tutorial (how), music |
| Time | Real time |
| Place | Desktop |
Profile 4
| Purpose | |
|---|---|
| Content | Portrait |
| Participants | |
| Form | |
| Time | |
| Place |