Photoshop CC Tutorial - Fantasy Sunset Fall Color Effects
Figuration: Tutorial
Description
In this video you will see, how to replace the sunset to the background & adding blur effect, how to get fantasy fall color effect in photoshop cc.
Stock Images.
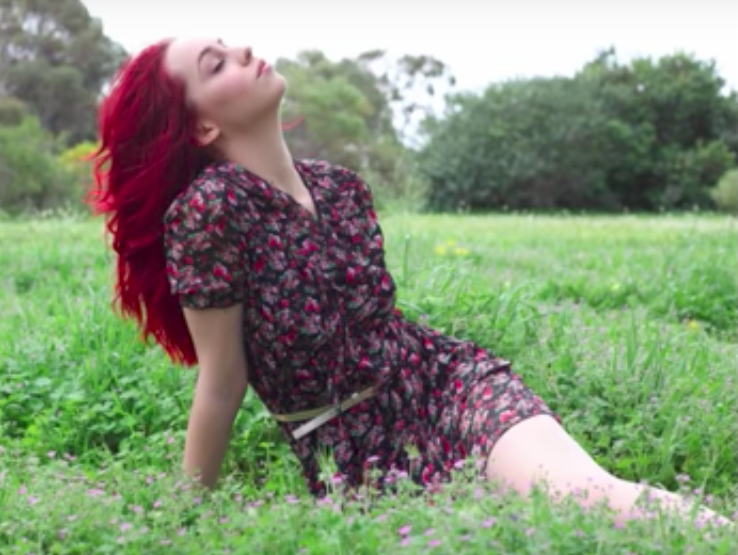
Model : http://faestock.deviantart.com/art/Meadow6-365175666
Sunset : http://koko-stock.deviantart.com/art/sunset-338920575
Stay Connected:
Facebook ► https://www.facebook.com/rafyA88
Google+ ► http://bit.ly/rafyA_
Intagram ► https://www.instagram.com/rafya88
Watch More Tutorials ► http://www.rafy-a.com
Thanks for watching.
___________________
Music track : https://www.youtube.com/audiolibrary/music
Metadata
| Video ID | 53 | Youtube URL | Photoshop CC Tutorial - Fantasy Sunset Fall Color Effects |
|---|---|
| Captions Available | Yes |
| Captions Downloadable | Yes |
| Playlists | |
| Duration | 00:08:56 |
| Definition | hd |
| Keywords | |
| License | youtube |
| Embeddable | Yes |
| Views | 617660 |
| Likes | 6091 |
| Dislikes | 140 |
| Favourites | 0 |
| Comments | 320 |
| Created | 2017-05-04 1:00:42 PM |
| Updated | 2017-05-04 1:10:06 PM |
Captions
standard: en
1
00:00:15,600 --> 00:00:18,633
let's rock and roll !!
2
00:00:18,633 --> 00:00:21,766
first, duplicate the layer
3
00:00:23,000 --> 00:00:30,100
use Camera raw filter, we will adjust the background color to yellow
4
00:01:03,400 --> 00:01:07,400
duplicate it once more !
5
00:01:07,400 --> 00:01:11,400
then Make selection on the model. you can use your favorite Selection Tool
6
00:01:31,833 --> 00:01:35,833
I'll speed it up to save your time
7
00:01:49,133 --> 00:01:53,133
add a Mask to the Layer.
8
00:02:01,933 --> 00:02:05,933
use Refine Mask to refine the edge on the model and on the Hair too
9
00:02:35,833 --> 00:02:39,833
click OK when you done.
10
00:02:50,866 --> 00:02:54,366
load the Selection on the Model by holding Ctrl + Click on the Mask
11
00:02:54,366 --> 00:02:58,366
then Expand the Selection by 20 px
12
00:02:59,866 --> 00:03:05,432
make sure select the background then Fill (Shift + F5) with Content-Aware
13
00:03:13,600 --> 00:03:16,800
Ctrl + D to deselect
14
00:03:34,766 --> 00:03:40,999
use the Clone Stamp tool (S) to fix the blurry parts
15
00:03:51,400 --> 00:03:55,400
use the Crop tool (C)
16
00:04:03,933 --> 00:04:07,366
add a Mask to the background
17
00:04:07,366 --> 00:04:11,366
then use the Linear Gradient Tool (G) with black & di like so
18
00:04:17,833 --> 00:04:21,833
use the Move tool (V) to add sunset to the project
19
00:04:24,000 --> 00:04:28,000
Ctrl+T to resize it
20
00:04:59,000 --> 00:05:02,366
merge the Sunset & the Background image in to one Layer.
21
00:05:02,366 --> 00:05:06,366
use the Tilt-Shift blur filter to blur the Background
22
00:05:58,900 --> 00:06:00,933
Ctrl+I to invert
23
00:06:29,766 --> 00:06:33,699
Create a new adjustment layer - Gradient Map.
24
00:06:33,700 --> 00:06:37,233
then select the following Preset
25
00:06:37,233 --> 00:06:41,233
using Hue blending mode
26
00:06:53,533 --> 00:06:59,099
next, create some adjustment layers to make color tone
Profiles
Profile 1
| Purpose | Tutorial (why) |
|---|---|
| Content | |
| Participants | nameless (f) model, Photoshop geek |
| Form | Tutorial (how) |
| Time | |
| Place |
Profile 2
| Purpose | Tutorial |
|---|---|
| Content | Portrait, Scene |
| Participants | nameless (f) model, Photoshop geek |
| Form | Tutorial (how), music |
| Time | Real time |
| Place | Desktop |